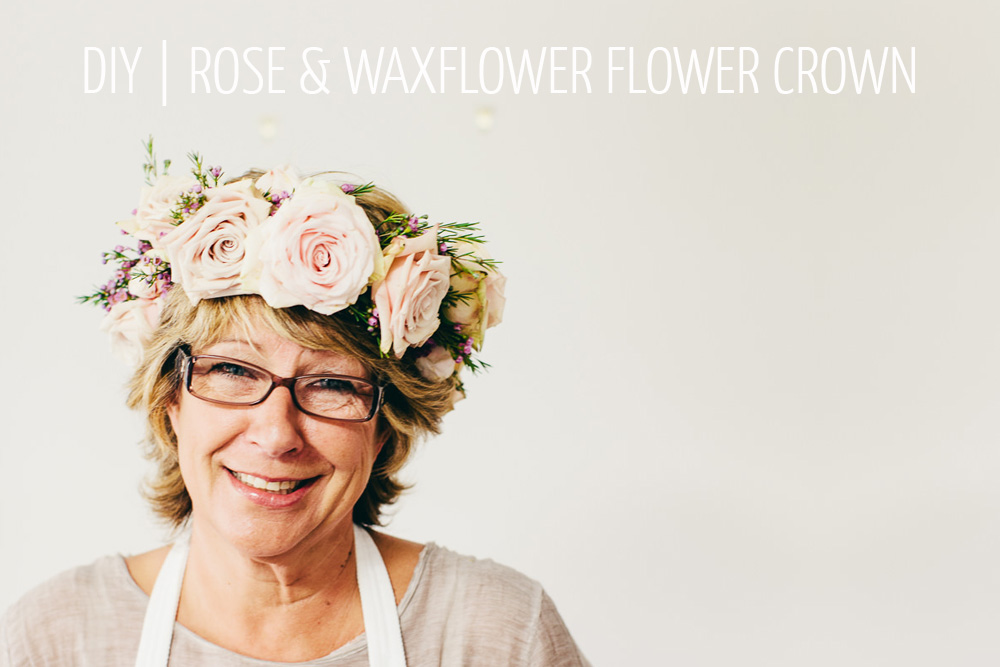
Ever wondered how to make one of those pretty flower crowns you often see brides and bridesmaids wearing in our weddings? Well here you go, we have put together a step by step guide so you can learn how to make them. This is another of our DIY tutorials we have done in collaboration with Rock My Wedding, see more of our DIY floral guides here.
HOW TO MAKE A FLOWER CROWN
For this example floral crown we have used a mix of roses in nude and pink colours in different sizes as well as wax flower for texture. You can use any flowers for this, the larger the flower heads the less you will need, we suggest using flowers that will be used elsewhere in your wedding and in your bouquet.
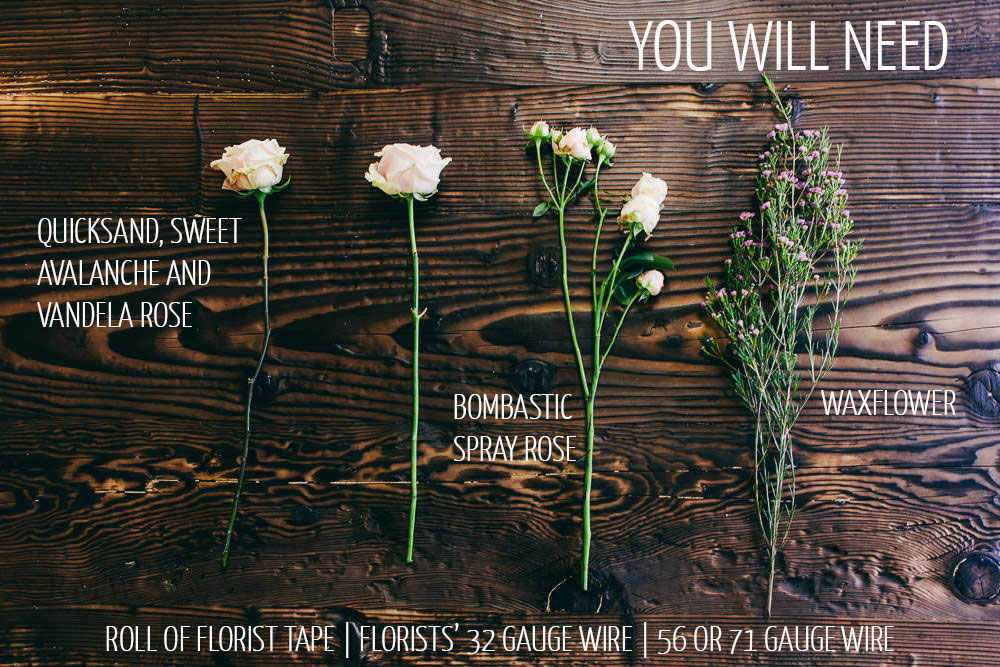
YOU WILL NEED
- Quicksand Roses
- Sweet Avalanche Roses
- Bombastic spray Roses
- Roll of florists’ tape
- Wax Flower
- Vendela Roses
- Fine gauge silver florists’ 32 gauge wire and
- Medium gauge 56 or 71 wire
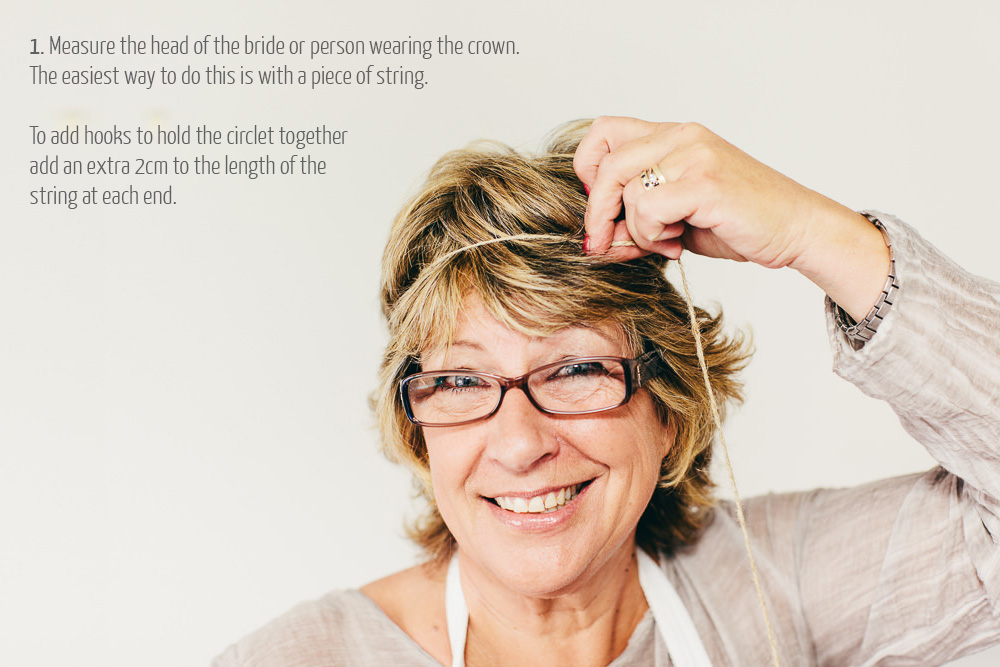
1. Measure the head of the bride or person wearing the crown. The easiest way to do this is by using a piece of string. Add an additional 4cm to the length, these will be used to create hooks to hold it together.
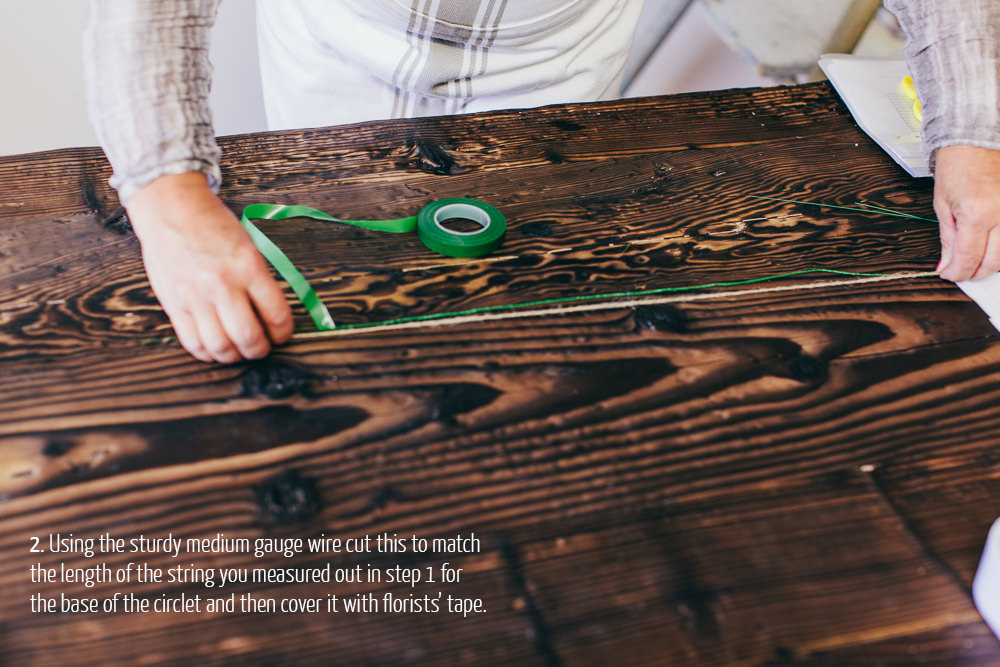
2. Using the medium guage wire cut this to match the length of the string, then cover it in florists tape.
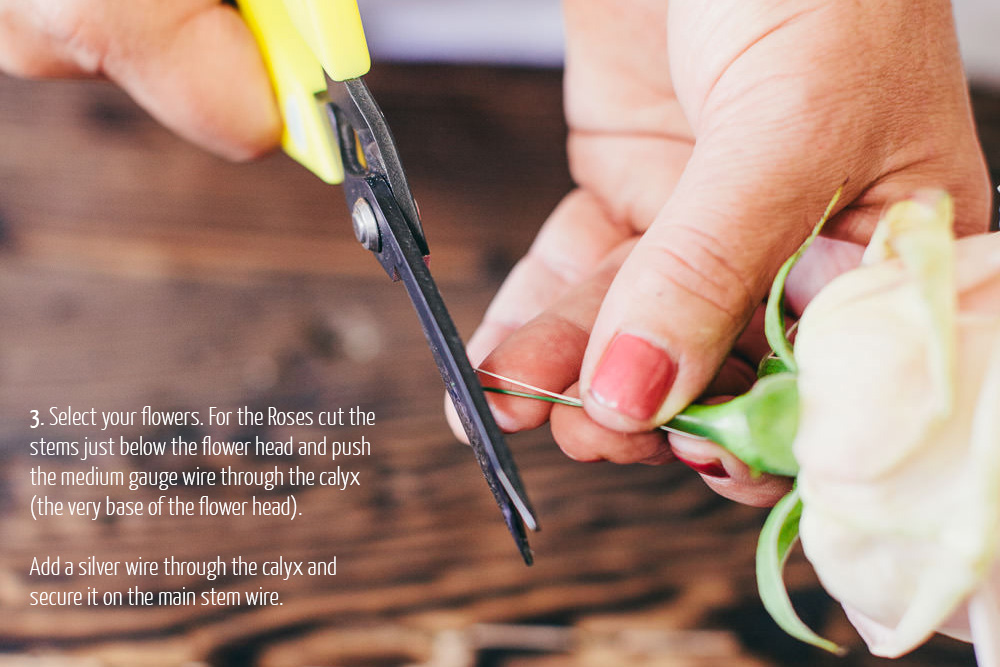
3. Select your flowers. For the roses cut the stems just below the flower head and push wire up through the centre of the stem. Add silver wire horizontally through the stem and twist it to secure with the main wire.
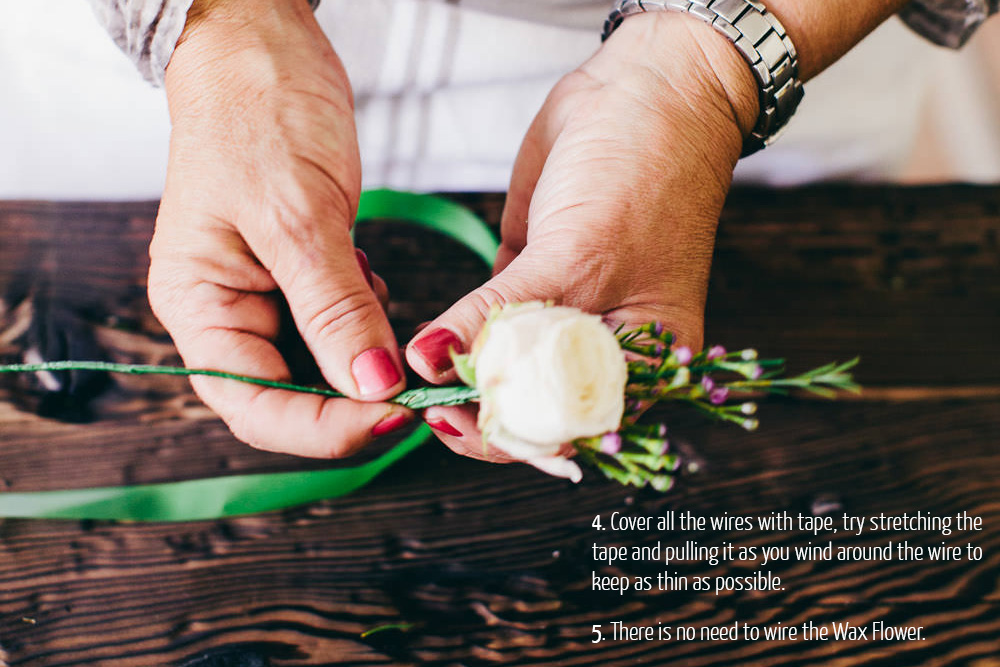
4. Cover all the wires with tape, stretching the tape and pulling it as you wind around the wire to keep it as thin as possible. (no need to wire the wax flower)
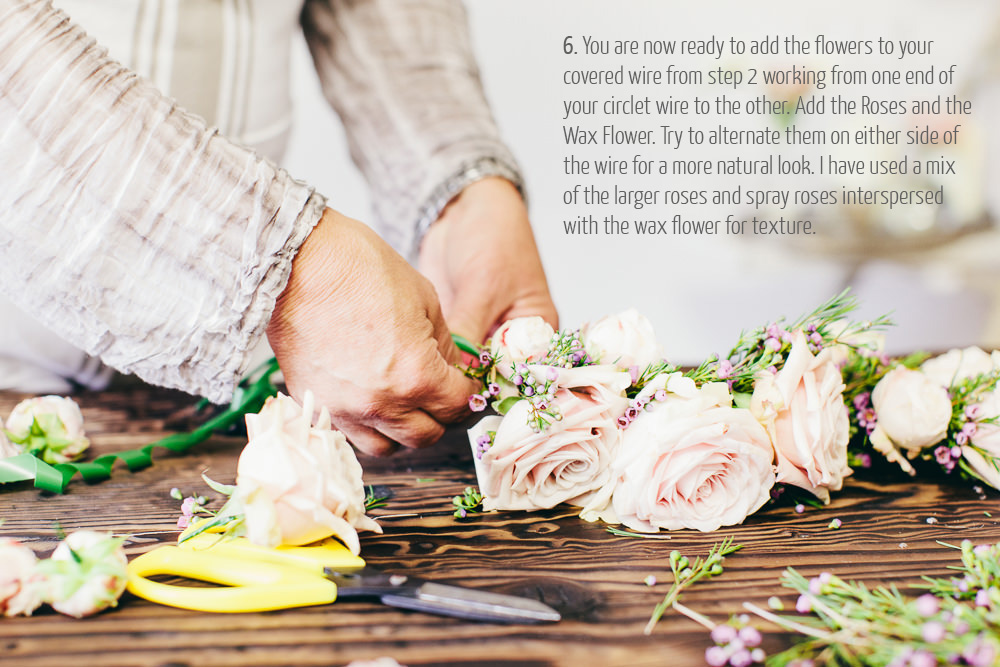
6. Once you have done this for all the flowers you are going to use in your flower crown you can start adding them to the longer piece of tape covered wire you prepared in step 2. Working from one end, place the first flower and fasten to the circlet wire with florists tape, wrapping it around the wires to make sure it is secure, then add another flower and another. Try alternate the flowers on either side of the wire for a natural look and make sure large and small roses are interspersed with the wax flower for texture.
Let us know if you have a go at this yourself – we’d love to see your creations.
Credits – Florals: Passion for Flowers // Photography: Adam Crohill // Featured originally on Rock My Wedding
Why not pin the whole tutorial to your pinterest board to save it for later.

