
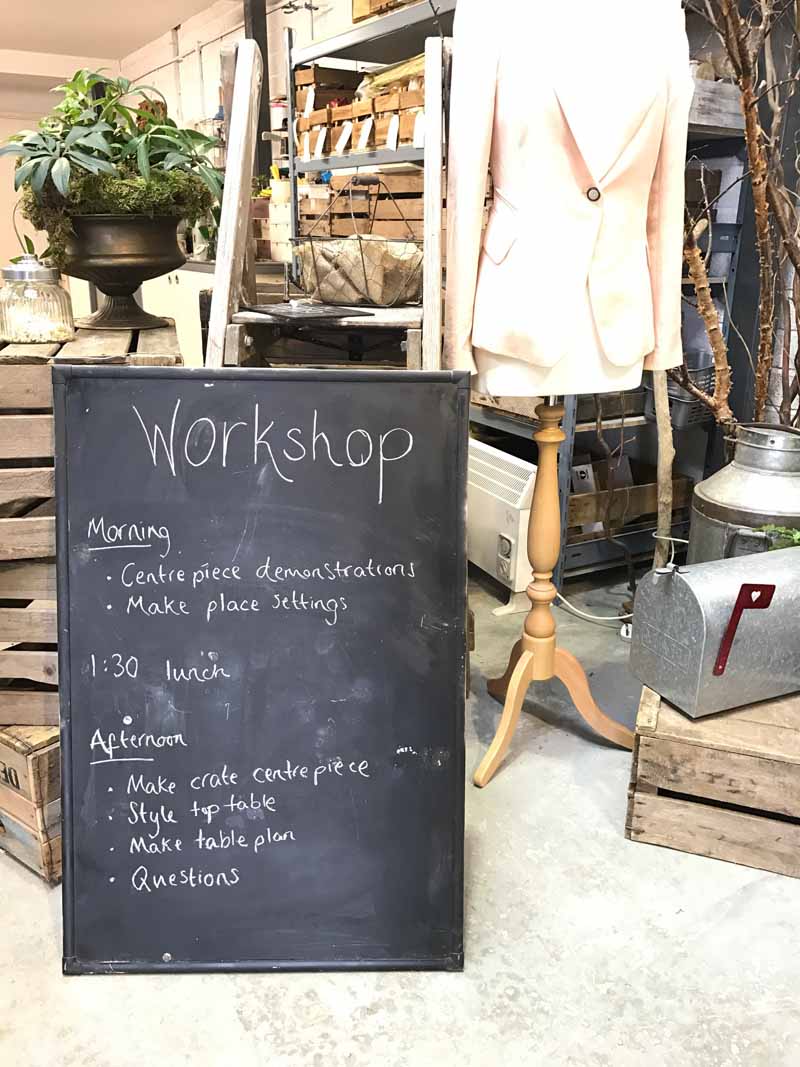
THESE DATES WERE FOR 2017, WE ARE NOT HOLDING ANY WORKSHOPS IN 2018 – SORRY
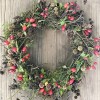
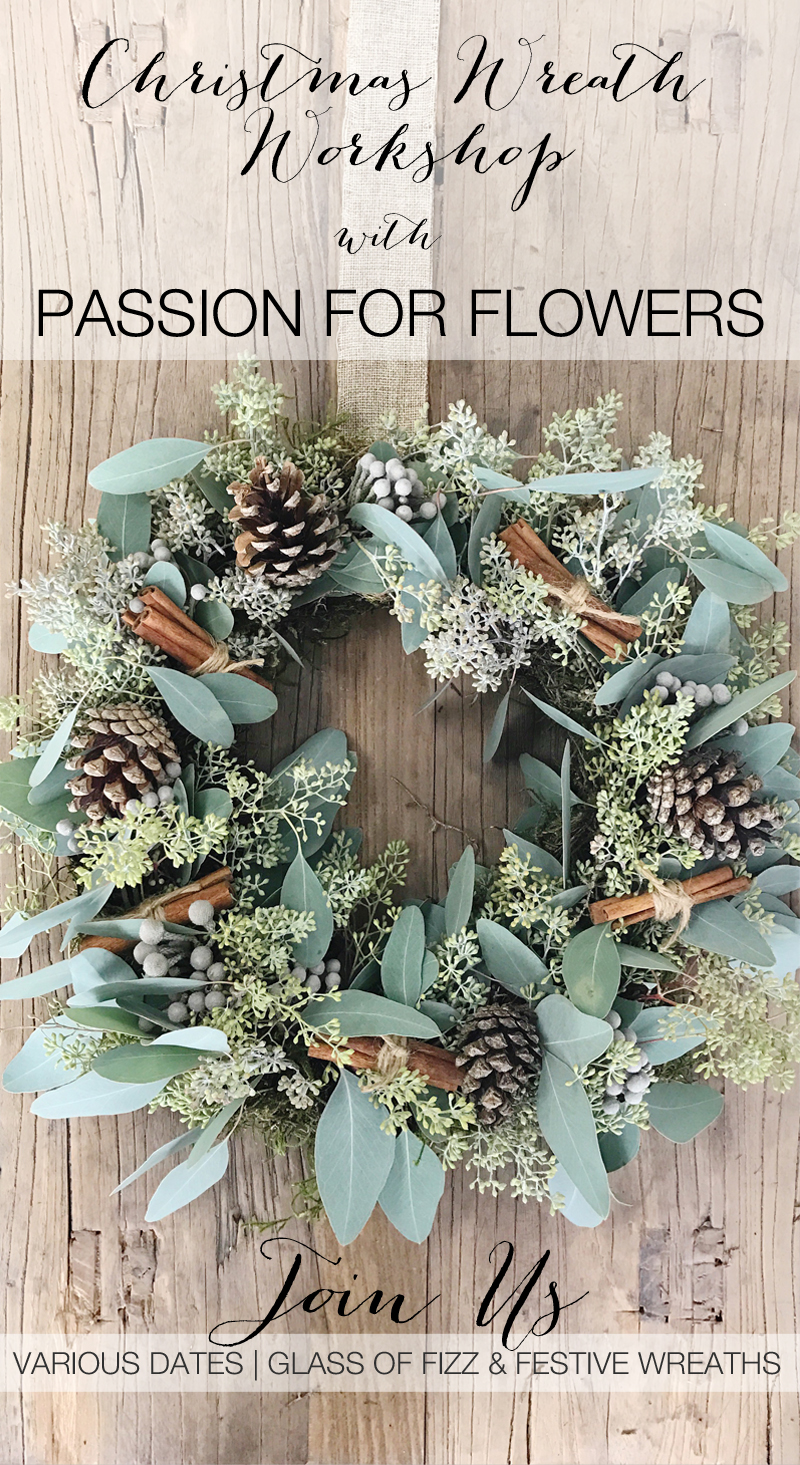
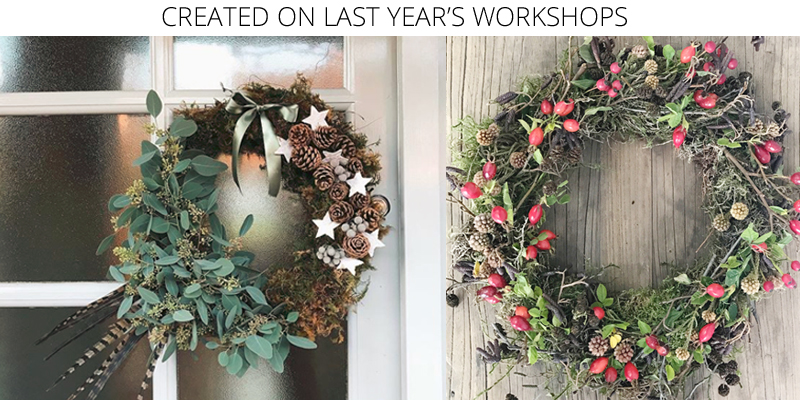
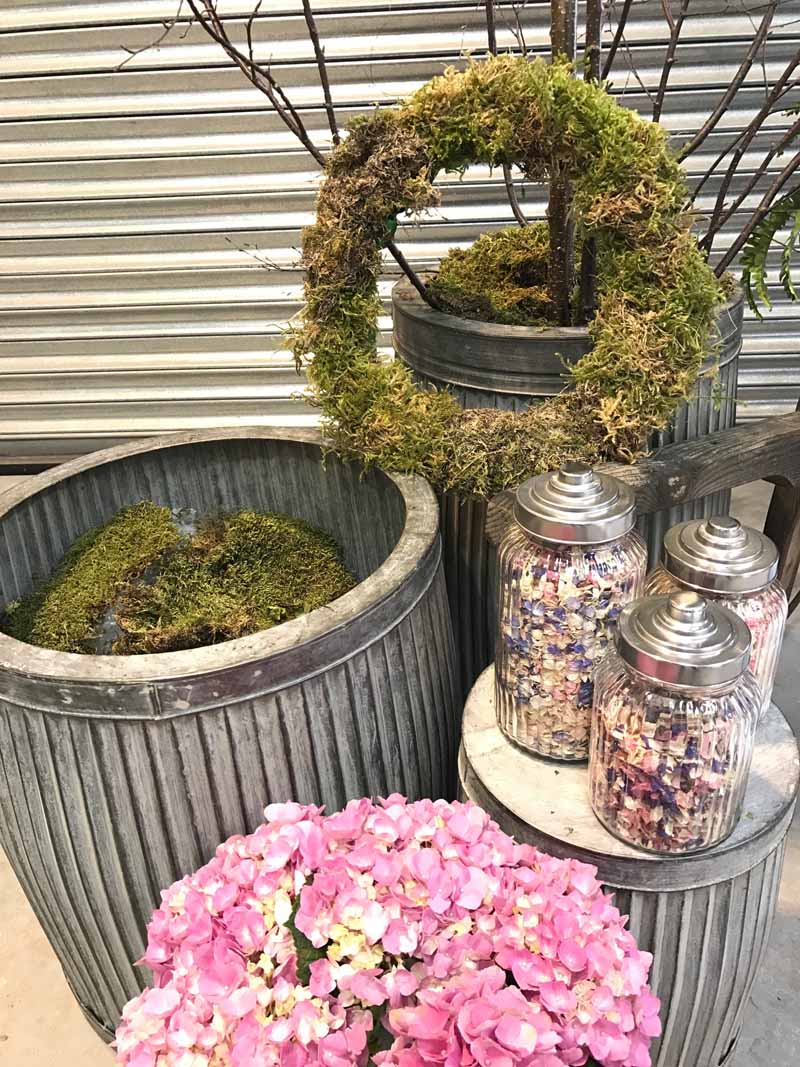
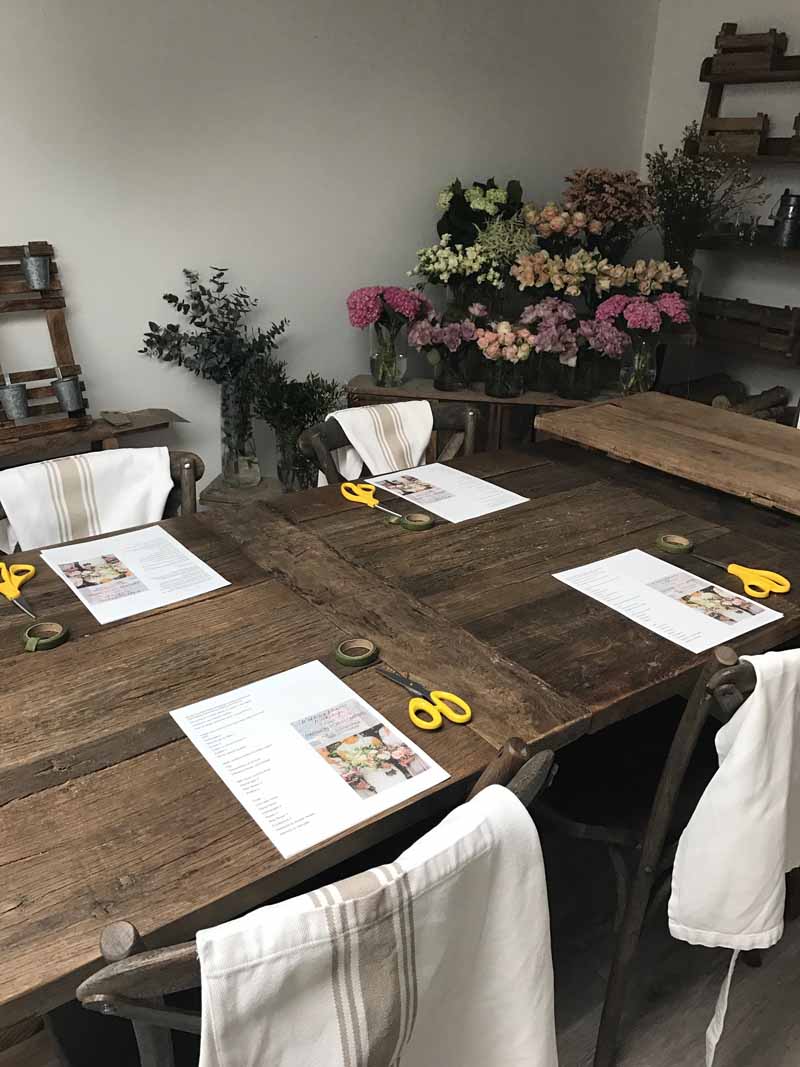
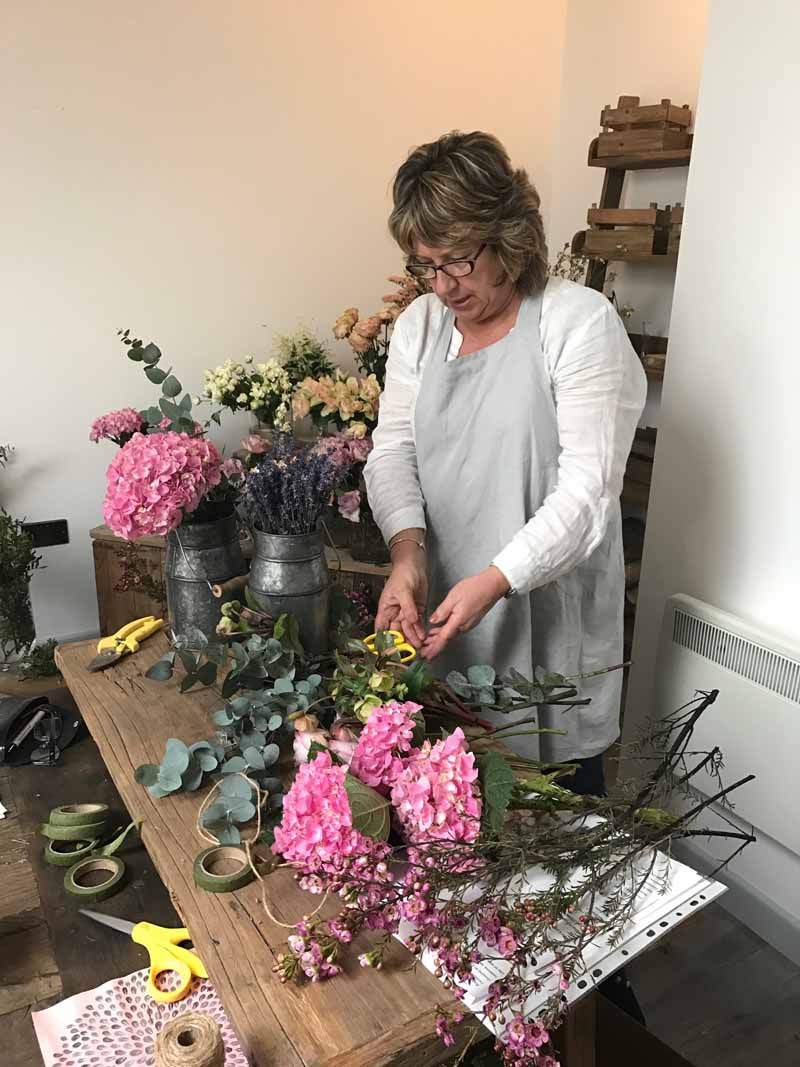
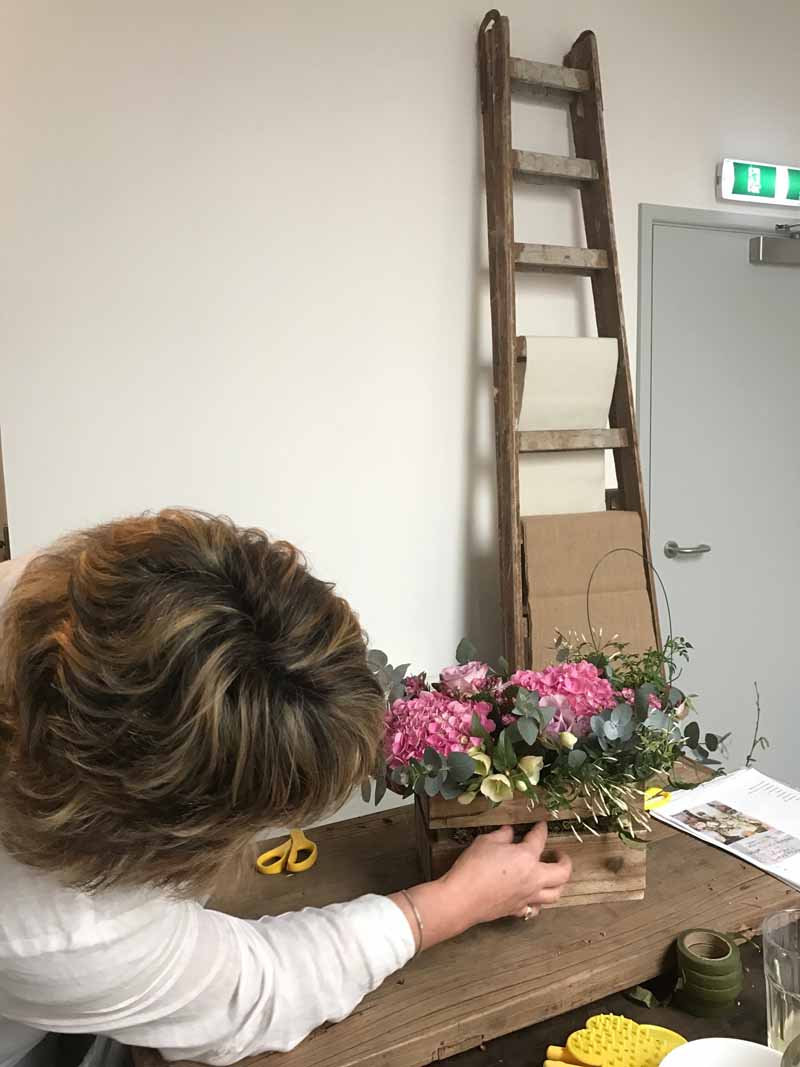
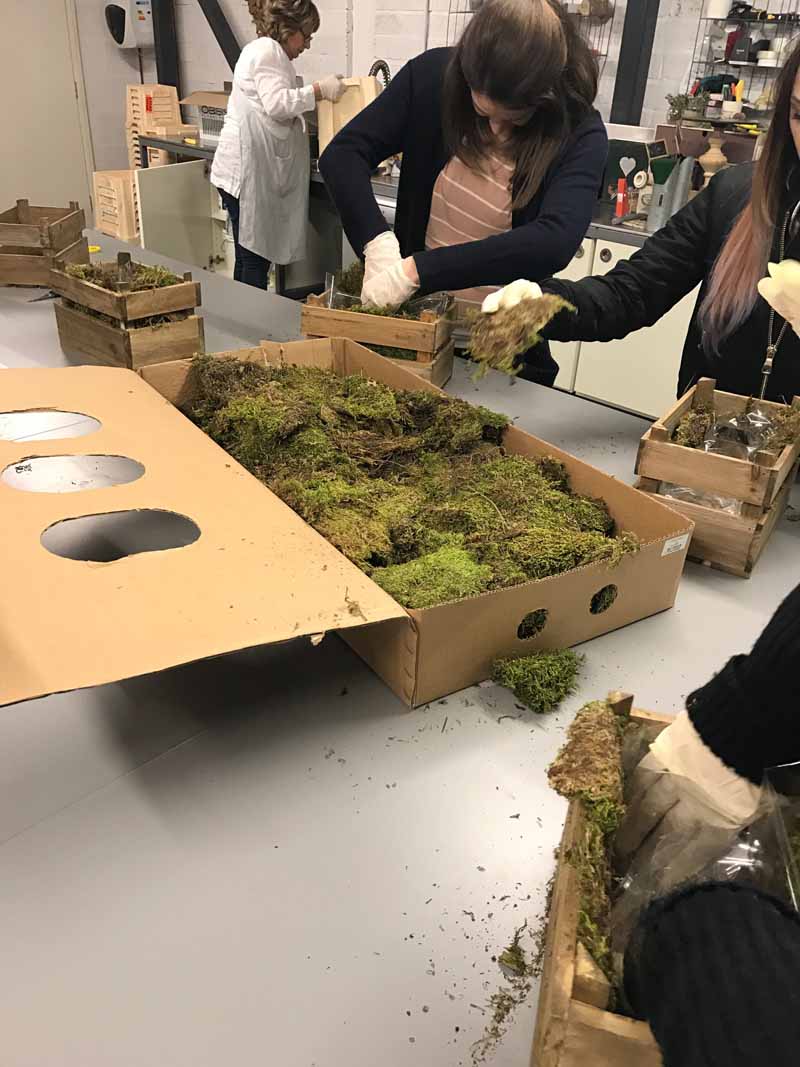
Join Passion for Flowers on one of our Christmas wreath making workshops. We will teach you how to make your own festive wreath to decorate your door for the festive period. Have fun in a small group with plenty of help. All tools, materials and equipment will be included as well as a glass of festive fizz and mince pies.
WHEN?
No dates for 2018.
WHERE?
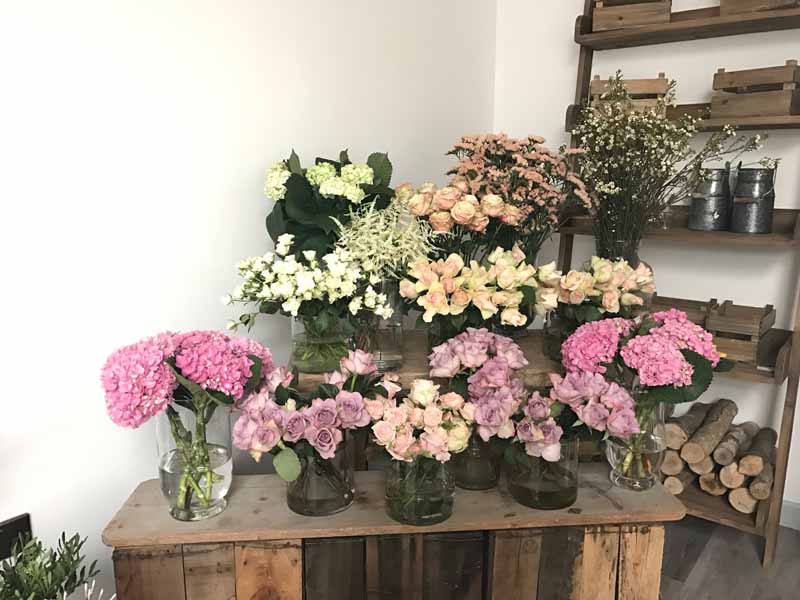
The wreath making workshops will be held in Passion for Flowers consultation room. Balsall Common, CV7 7RE.
WHAT?
Join Passion for Flowers on one of our Christmas wreath making workshops. We will teach you how to make your own festive wreath to decorate your door for the festive period. Have fun in a small group with plenty of help. All tools, materials and equipment will be included as well as a glass of festive fizz and mince pies.
PRICE?
£60 per person inclusive of all materials
HOW TO BOOK?
Email karen@passionforflowers.net confirming how many places you would like to book and which workshop you would like to attend.
TOO BUSY TO ATTEND?
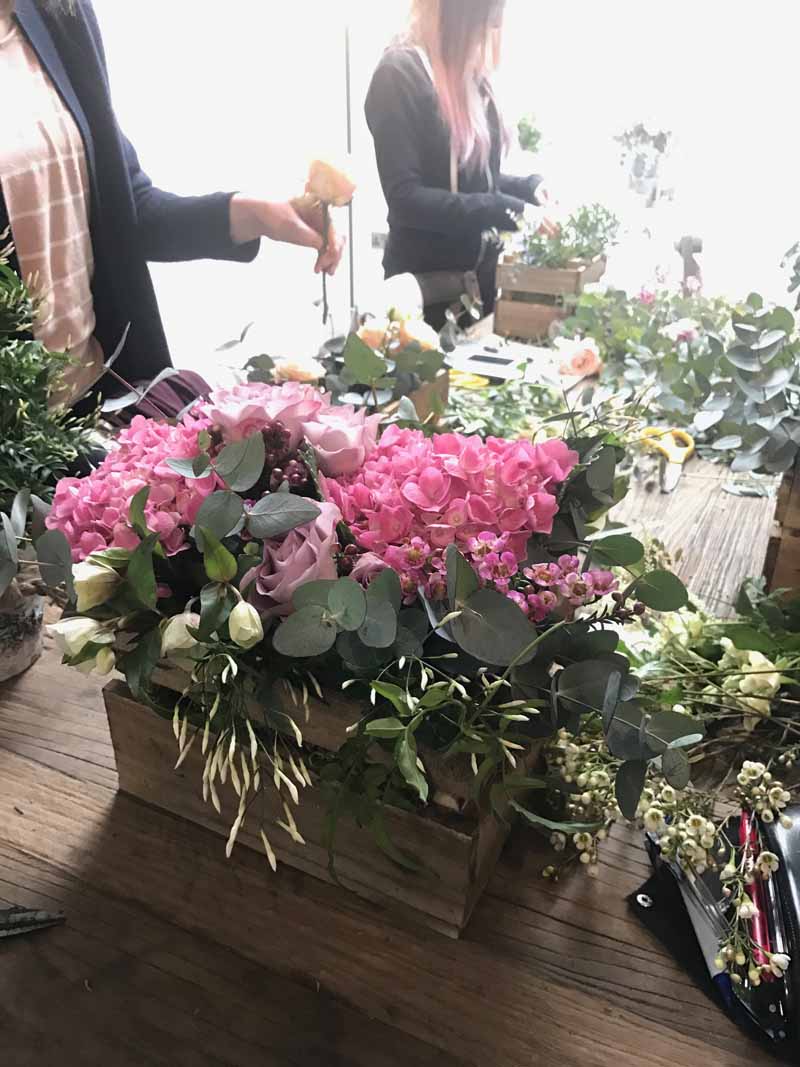
Passion for Flowers will also create wreaths to order, sizes and styles can vary to suit your door, prices start from £40 upwards. Email karen@passionforflowers.net to place your order, collection from Balsall Common before Christmas.


